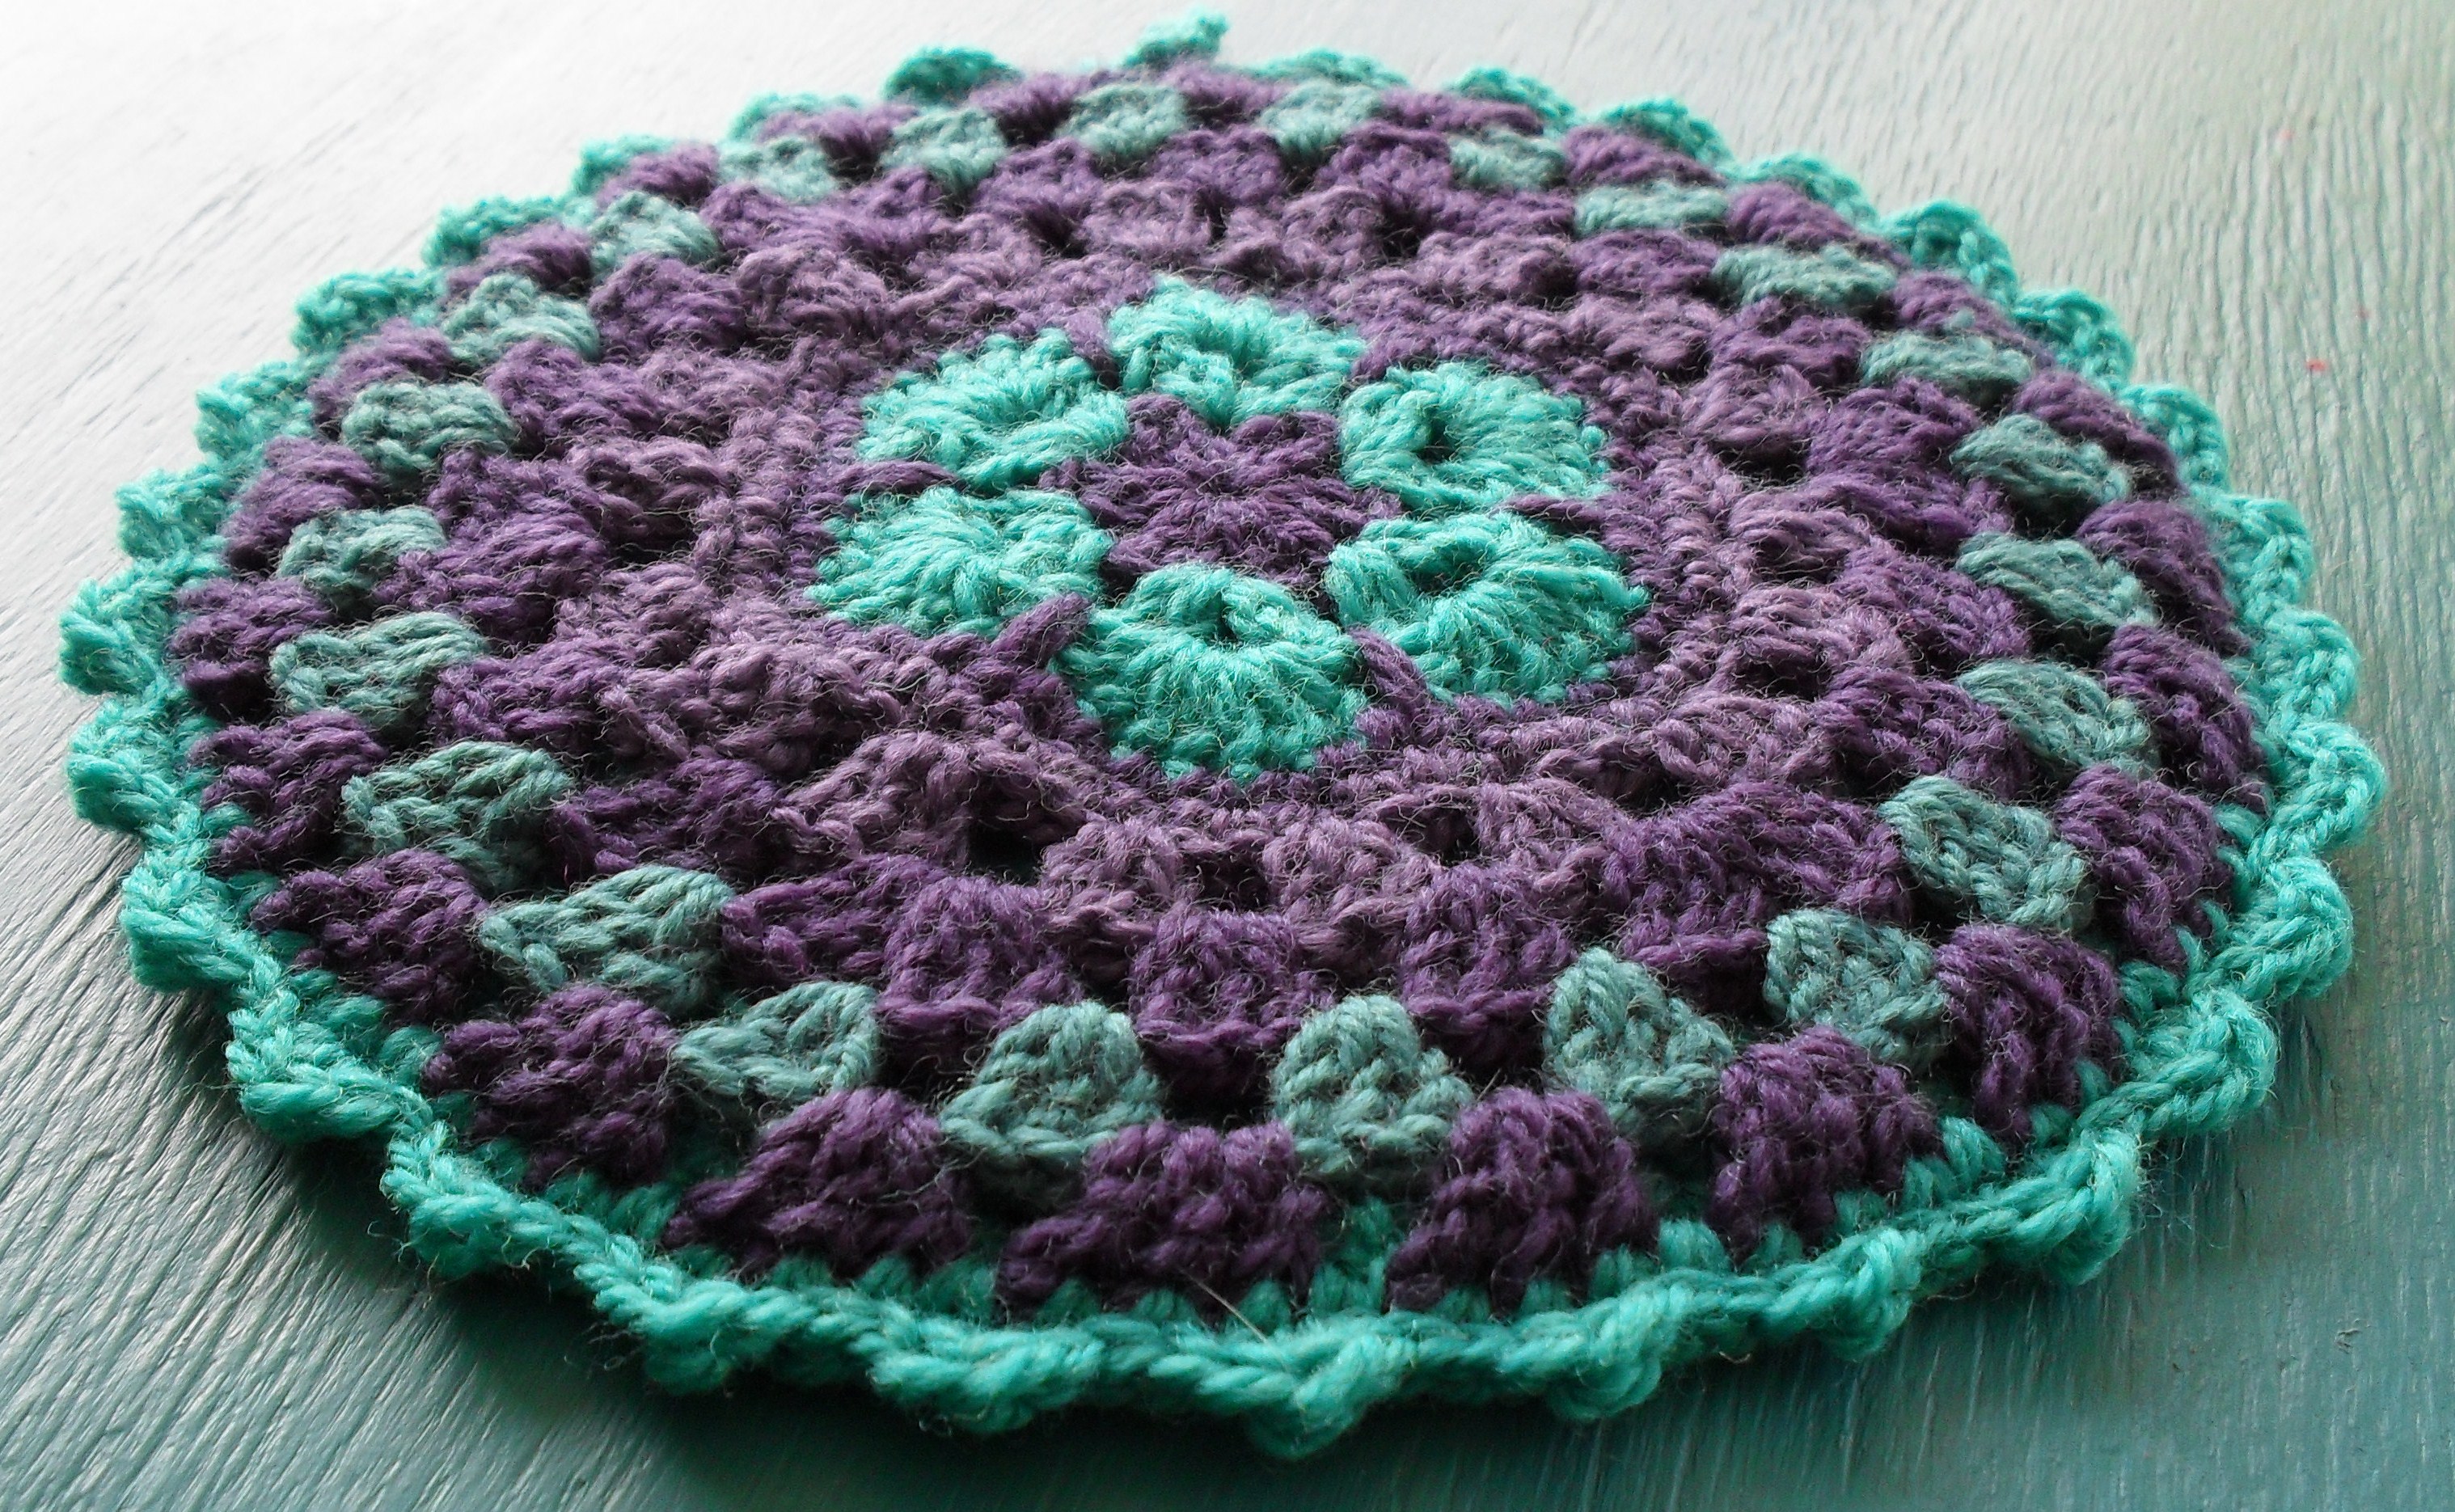
Once you have made the flower, edge it with 1sc into each stitch, EXCEPT the “middle” (the tallest part of the petals) of each petal, make 2sc into this stitch.
When you have completed the round, join with a slst into the 1st sc, then ch3 and 2dc into the same stitch. Ch1 and skip 2 stitches and make 3dc into the next stitch, ch1, skip 2, make 3dc into next stitch and so on and so on until you have completed the round!
In the next round, change colour and join new colour with a slst into a 1ch space from previous round. Into the same space, make 2dc, ch1, 3dc. *Ch1, 3dc into next 1 ch space, ch1, 3dc into next 1ch space, ch1, into the next space 3dc, ch1, 3dc* Repeat ** until you have completed the round, then ch1 and join with a slst to the 3rd ch of original 3ch.
In easier-to-understand language, you want to make a “granny” (3dc cluster) twice, then 2 “grannies” each separated by 1 chain for this round.

For the next TWO rounds, join new colour with a slst into a 1ch space and ch3 (counts as 1dc) 2dc into same space. ch1, 3dc into next space and continue until the end of the round. ch1 and join with a slst to the 3rd ch of original 3ch.
You’ve just finished the front!!!
Now you need to make a back and I did this by making the typical dc circle. Make a magic ring , ch3, 11dc into ring and pull tight, join with a slst to the 3rd ch of original 3ch. ch3, dc into same stitch, 2dc into each stitch for the entire round, join with a slst to the 3rd ch of original 3 ch. ch3, dc into same stitch, dc into next stitch, 2dc into next stitch….. until end of round, join with a slst to the 3rd ch of original 3ch. Continue in this fashion, each round increasing the number of single dc’s between 2dc’s as the circle grows. e.g. next round will be 2dc into one stitch, 1dc into next two stitches…. next round will be 2dc into one stitch, 1 dc into next 3 stitches… until the back is the same size as the front.

Now hook them together with a 4mm hook! I used sc and at the end of the round join with slst to the first sc. Now ch1 and slst into the next stitch, into the next stitch make 1sc, 1hdc, 1sc, slst into the next 2 stitches, then into the next stitch, make 1sc, 1hdc, 1sc…. continue until end of round. Now ch as many stitches as you want to make the hanging loop (I did 6) and slst into the same stitch to join the loop.
And there you have it! Weave in those ends and voila!

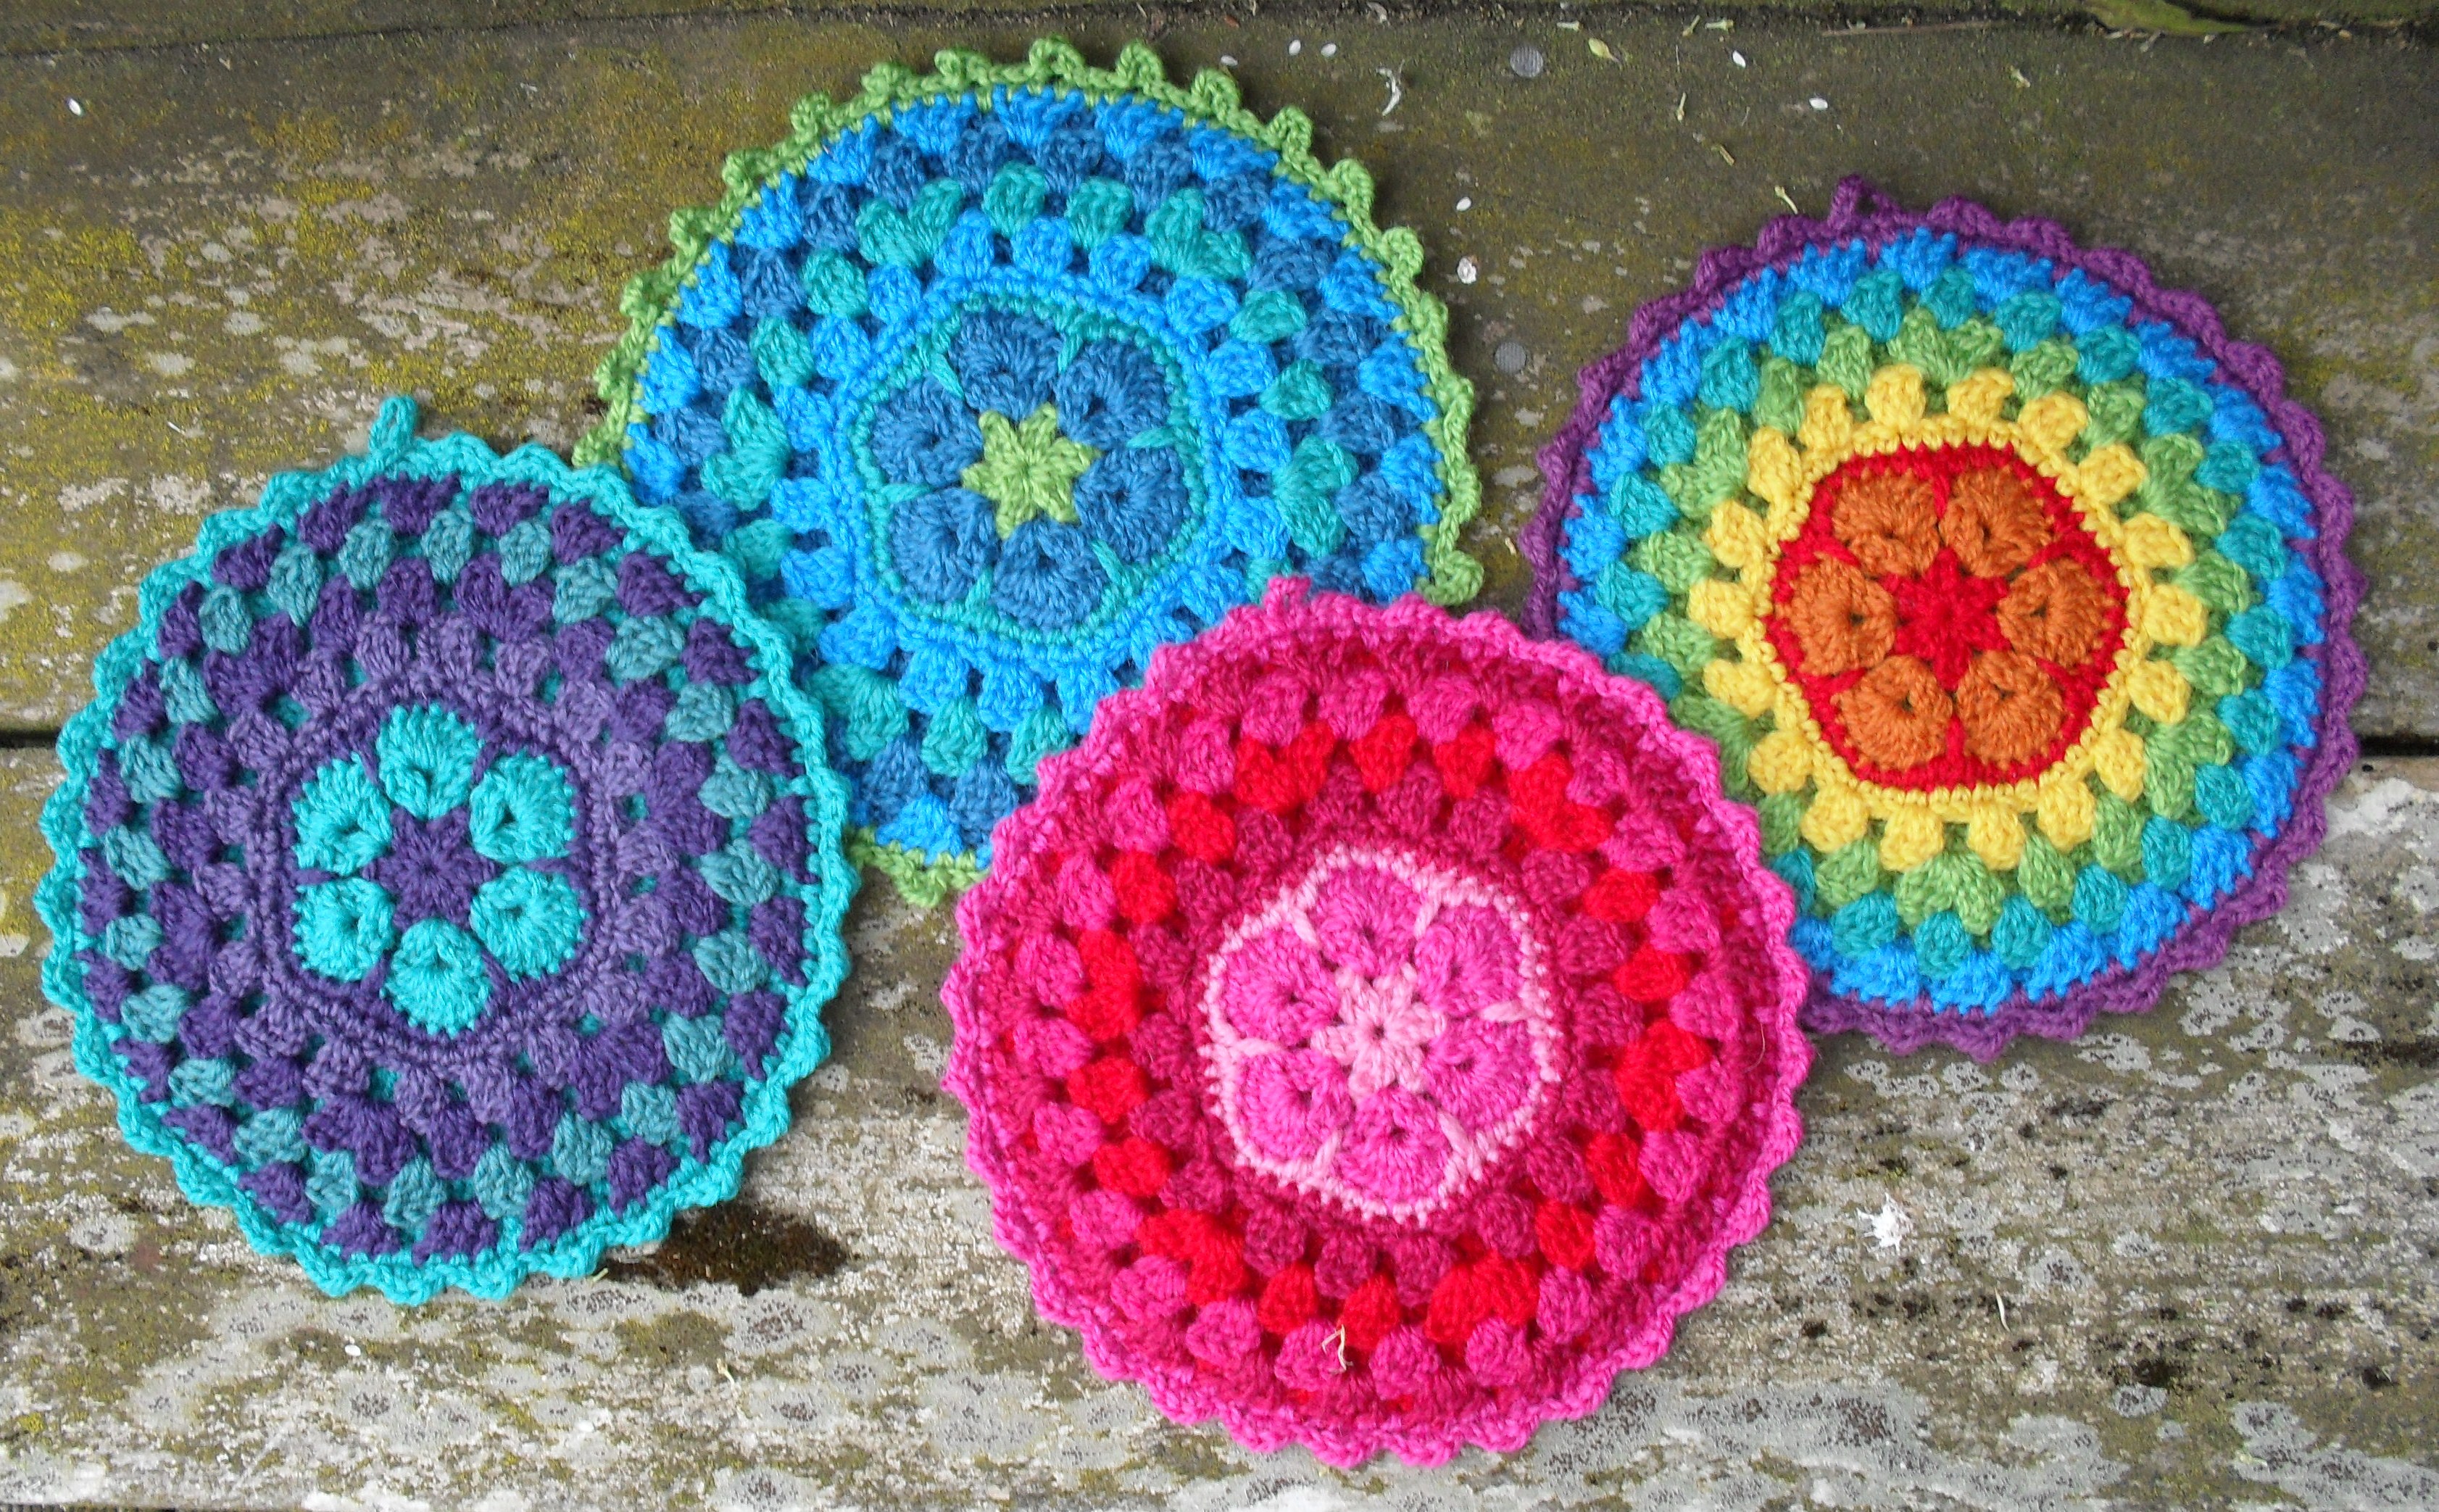
Like these….
And this…..

And of course, a rainbow….